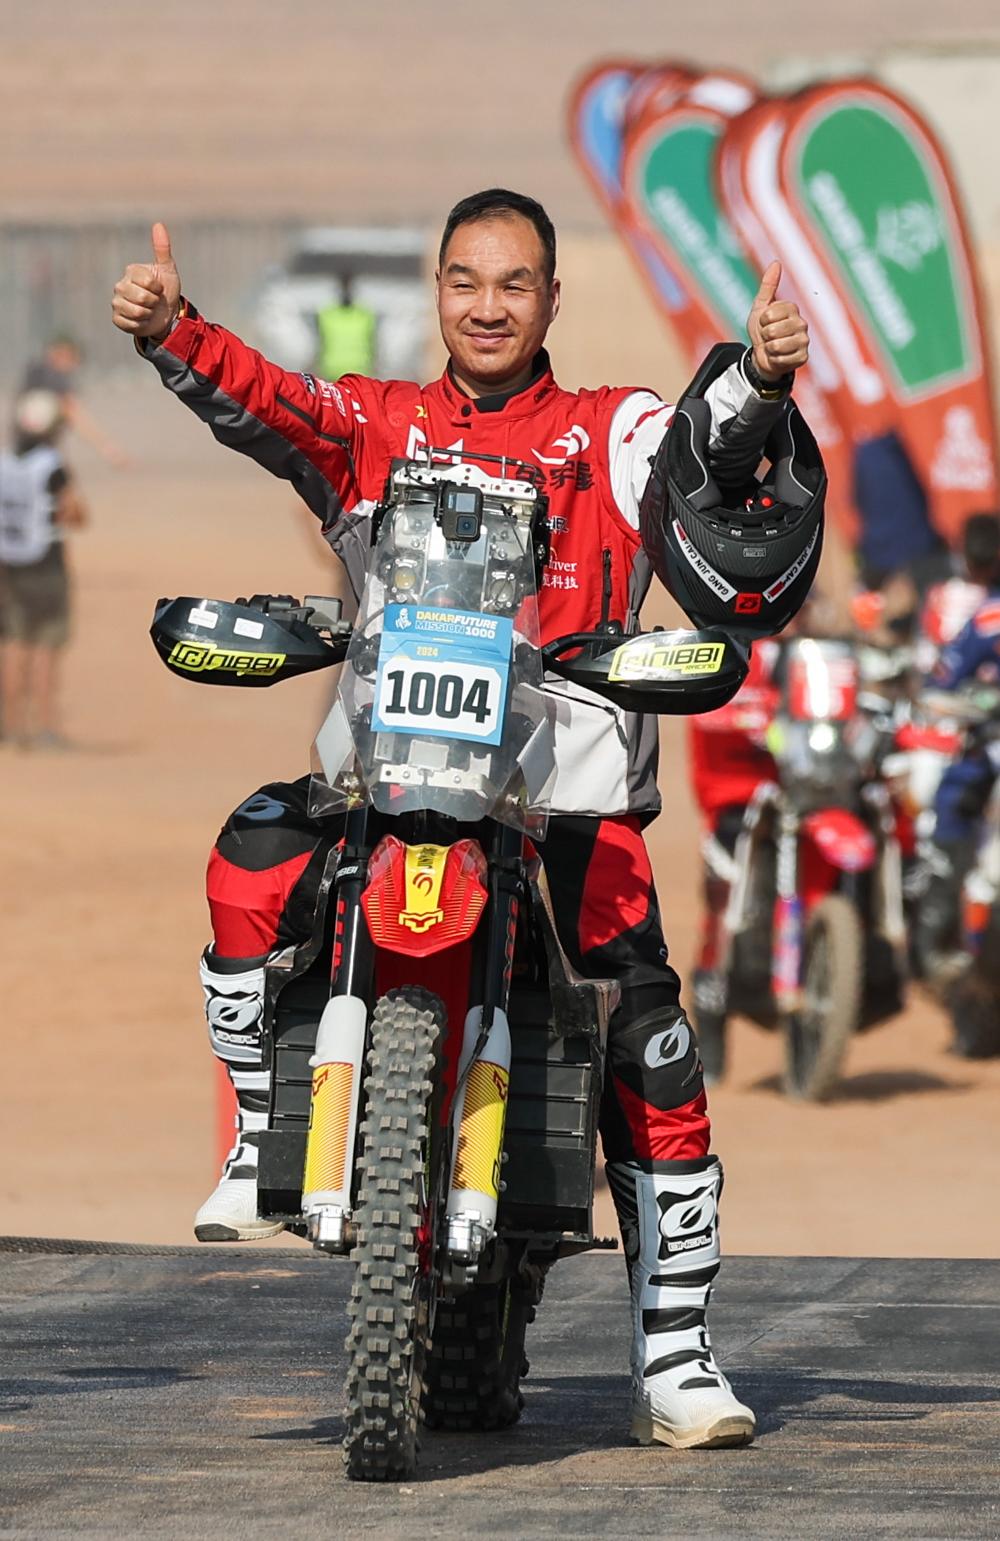

Electric Enduro Bike Manufacturer Shares What Truly Defines a Trail-Ready Ride
2026-11-02
Ask ten riders what makes an electric enduro bike trail-ready and you'll get ten answers—torque, travel, tire width. Arctic Leopard builds them, and its engineers will tell you those specs are only half the story. The real test starts where the trail gets ugly. Here's what separates a bike that survives from one that shines.
What Actually Gets an Electric Enduro Ready for Real Trails
Suspension and chassis geometry do more for real trail performance than any bump in motor output. An electric enduro needs travel that can swallow square-edged rocks without packing, along with damping that stays composed when the pace picks up over roots. The linkage and steering angle should keep the front wheel driving through loose climbs instead of wandering, because instant torque can make a twitchy front end feel worse than it does on a gas bike.
Battery placement is the next piece. A low, centralized pack lowers the center of gravity and makes the bike easier to flick between trees, but it has to be protected by a skid plate that can take repeated hits without transferring force into the casing. You also need sealed connectors and a cooling path that won't choke when the motor is working hard at low speed for long stretches. Swappable packs or a quick-access charge port matter more than absolute range on paper.
Throttle mapping and traction control separate a trail-ready electric enduro from a converted motocross bike. Smooth, progressive low-end delivery lets you crawl over wet roots without looping out, and adjustable regen gives engine-braking feel without locking the rear. Add heavy-duty rims, proper off-road tires, and waterproof switchgear, and the bike can handle mud, creek crossings, and the kind of abuse that would sideline a street-focused electric machine.
Battery Placement Changes Handling More Than Most Riders Expect
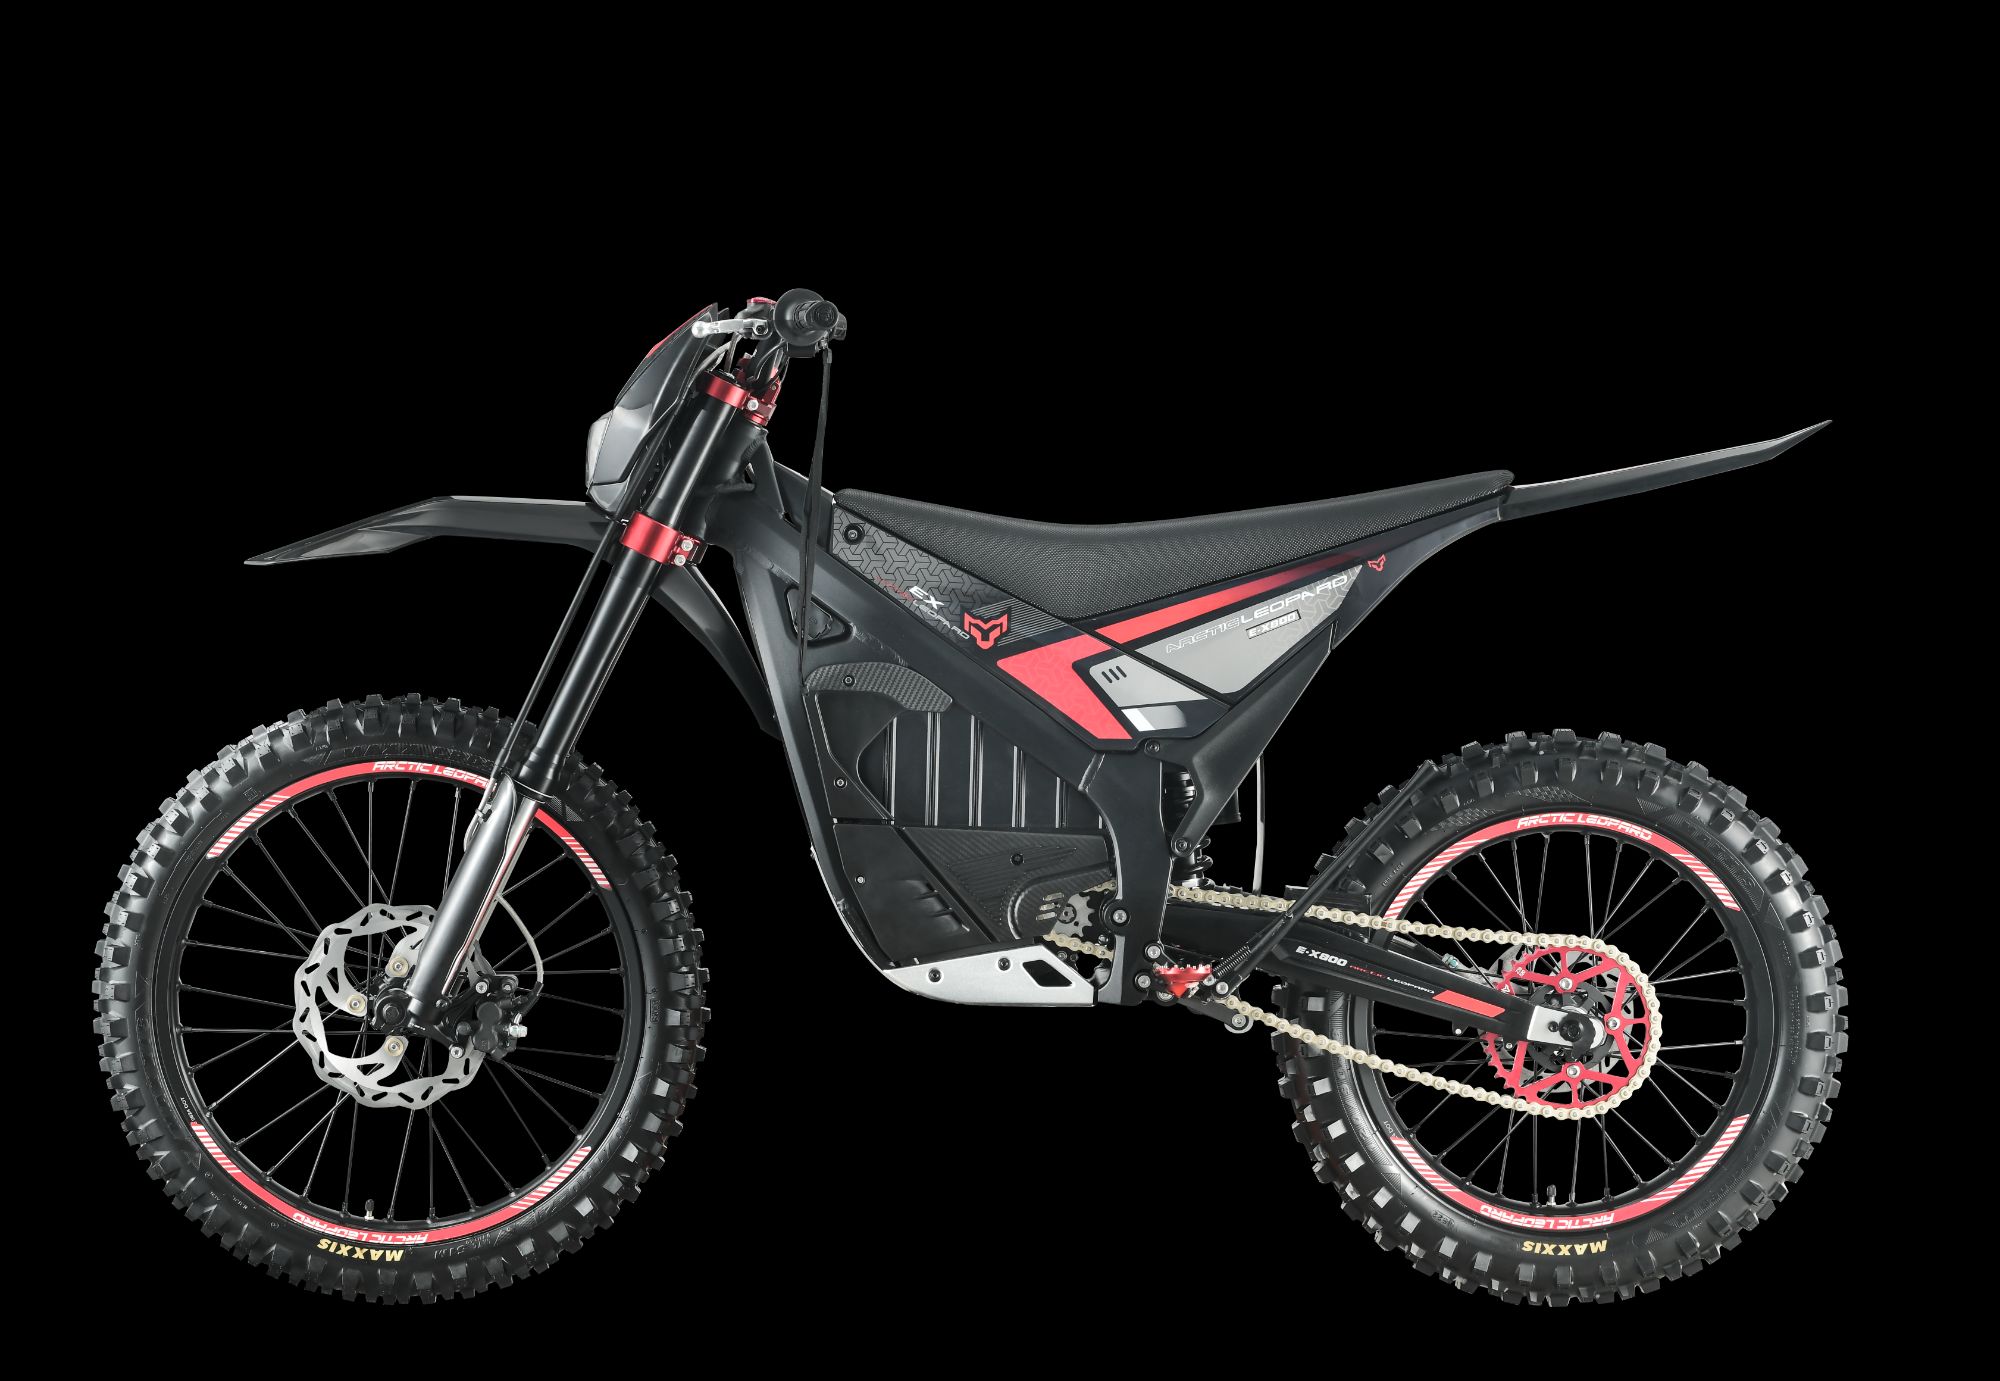
Most riders fixate on battery capacity or peak power, but the physical location of the pack reshapes how a bike behaves in corners, under braking, and during quick direction changes. A low, centrally mounted battery lowers the center of mass, which can make the bike feel planted at lean, yet it also increases the yaw inertia around the steering axis. The result is a machine that holds a line beautifully once committed to a corner, but requires a more deliberate countersteering input to initiate the turn—something that catches out riders who expect electric torque to translate directly into sharper handling.
Move that same battery toward the rear wheel or stack it high in the frame, and the character flips. Rear-biased mass reduces front-end grip under hard braking and makes the bike squat aggressively on acceleration, while a high-mounted pack adds a pendulum effect during low-speed maneuvers. Even small shifts of a few centimeters change the wheelbase loading enough to alter suspension sag and rebound behavior. Because electric powertrains deliver instant torque without the mechanical feedback of a clutch or gearbox, these subtle weight distribution issues become more pronounced—riders often notice a vague front end or a stubborn reluctance to turn before they can pinpoint what feels different.
Suspension Setup That Works for Rocks, Roots, and Rutted Climbs
Start with sag before touching any clicker. For climbs littered with rocks and roots, a slightly firmer rear end than your usual trail setting keeps the bike from wallowing when you punch up ledges. Aim for 25–28 percent sag at the rear if you're running a coil, or 22–25 percent on an air shock. The fork can stay a touch softer—close to 20 percent sag—so the front wheel rolls over square edges instead of deflecting sideways when you're gassed mid-climb.
Rebound is where most setups fall apart on rough climbs. Too slow and the suspension packs down after consecutive hits, turning the last third of a rock garden into a rigid nightmare. Too fast and the rear wheel skips off roots the moment you apply torque. Set rear rebound so the shock returns quickly but doesn't top out with a clunk after a hard hit. Try one or two clicks faster than your usual descending setting, then ride the same rutted section twice: once seated, once standing. If the rear wheel loses drive in the standing attempt, add a click of low-speed compression instead of slowing rebound.
Rutted climbs punish bikes that sit too low. If your shock has a climb switch or lockout, use the middle position rather than full lock—full lock turns every root into a square-edged jolt that stalls momentum. A touch of low-speed compression support keeps the bike from squatting under pedal strokes while leaving enough give for the front wheel to track. For forks, back off high-speed compression one or two clicks from your normal setting; that lets the front absorb rapid root hits without spiking. Then drop tire pressure by 1–2 psi front and rear only if you're not already rimming out. Small changes here do more than any thirty-way damper adjustment.
The Parts That Fail First When You Ride an E-Enduro Hard
On an e-enduro, the drivetrain takes a beating like nothing else. The motor's torque multiplies the force through the chain, so a chain that would last a season on a regular enduro bike is often stretched beyond 0.5% wear in a matter of weeks if you ride hard. Chainring teeth start to look like hooks, cassettes develop shark-fin profiles on the climbing cogs, and shift quality goes from crisp to clunky. The real killer is when the motor cuts out mid-pedal stroke under heavy load; that sudden unloading sends a shock through the chain, pins, and derailleur clutch that accelerates wear in ways a normal bike never sees.
Brakes are the next weak link. E-enduros carry extra mass—often 50 pounds or more—and that mass turns into heat on steep descents. You'll feel the lever getting longer as brake fluid expands, then the pads glaze over and the rotors start to warp, producing that rhythmic pulse under braking. Sintered pads help but they still burn through faster than on an acoustic bike. If you're doing repeated shuttle runs or bike-park laps, a fresh set of pads can be gone in a single weekend.
Wheels and suspension bushings quietly give up under the constant abuse. The higher speeds and heavier bike mean square-edge hits that used to be shrugged off now dent rims and pop spokes regularly. Hub bearings develop play because the motor torque plus lateral loads from off-camber landings work them loose. Up front, fork and shock bushings wear into oval shapes faster, making the bike feel vague and knocking over small chatter. Service intervals that were once optional become mandatory if you want the bike to track straight and stay quiet.
Why Peak Torque Specs Don't Tell You How It Climbs
Climbing performance rarely hinges on the peak torque number printed in a spec sheet. That figure is often measured at a single, optimal RPM, but real climbs force you through a wide band of engine speeds, where torque delivery can dip and surge unpredictably. A motor with a lower peak torque but a flatter, broader curve will frequently outwork a peaky contender on technical ascents, simply because it doesn't demand constant gear changes to stay in the sweet spot.
Gearing, weight transfer, and throttle response shape the climb more than any single torque reading. A heavy flywheel or tall first gear can blunt the hit of even a torquey engine, while a lighter rotating assembly or shorter final drive can make modest output feel lively and tractable. On loose or uneven terrain, the ability to meter power smoothly without breaking traction often matters far more than outright twist at the crank.
Riders who chase the biggest peak torque number often end up with a machine that feels lazy just off idle or falls flat when the revs drop. The real question is how much usable torque arrives at the rear wheel across the RPM range you actually use while climbing, and how well the chassis lets you apply it. That's why two bikes with nearly identical peak specs can feel worlds apart on the same hill.
From Showroom to Singletrack: The Setup Steps We Never Skip
The moment a new bike rolls out of the showroom, it's still a blank canvas. We never assume the factory settings are ready for real trail conditions. The first thing we do is strip the tires off the rims, clean the factory sealant if it's tubeless, and re-tape the rim bed ourselves. It's tedious, but half the pinch flats we see on group rides trace back to sloppy tape jobs or dried-out sealant from the shop floor. Once the tires are back on, we spend a full afternoon cycling the pressure up and down on a familiar stretch of gravel, feeling for the exact point where the side knobs start to fold. That number goes on a piece of masking tape stuck to the top tube—it changes with the season, but we never skip it.
Suspension setup is the next place shortcuts creep in. The showroom sag setting might be fine for a parking lot bounce, but out on singletrack it translates to harsh bottom-outs or a front end that dives under braking. We start with the rebound fully open, then ride the same rocky descent three times, clicking the adjuster two clicks slower each run until the bike stops feeling like a pogo stick. Then we move to compression: low-speed for pedal bob, high-speed for square-edge hits. It takes most of a Saturday, and our riding buddies think we're insane. But when you're three hours into a backcountry loop and your hands aren't numb, it's worth every minute.
Finally, we bed in the brakes the hard way—not in the parking lot, but on a long fire road with a steep grade. Twenty hard stops from 25 mph to walking pace, never locking the wheels, then a ten-minute cooldown without touching the levers. That transfer layer on the rotors is what separates a brake that squeals and fades on the first real descent from one that's silent and consistent all day. After that, we'll re-check every bolt on the cockpit, add a strip of helicopter tape to the chainstay, and only then does the bike earn its first scratch on real singletrack.
FAQ
It's not just about slapping on knobby tires. A trail-ready electric enduro needs a frame geometry that keeps you stable on loose climbs and descents, a motor response that feels predictable at low speed, and battery placement that doesn't ruin the bike's balance when you're hopping over roots.
Often it comes down to weight distribution and motor tuning. If the battery sits too high or the power comes on too abruptly, you lose the fine control needed for switchbacks. Manufacturers have to tune the assist to ramp up smoothly instead of surging the moment you touch the pedals.
It matters, but more travel isn't automatically better. You want a suspension that works well with the extra weight of the motor and battery. A well-damped 150 to 160 mm setup can outperform a plush 180 mm fork if the tune matches the bike's mass and intended terrain.
Torque shapes how the bike pulls out of corners and up rock ledges. Too much torque with a twitchy throttle map makes the rear wheel spin and lose traction. The sweet spot is usually between 80 and 90 Nm, with a smooth delivery curve that lets you meter power precisely.
It depends on the ride mode and elevation profile. Many current models can cover 30 to 40 miles in mixed trail use if you stay in the lower assist modes. Carrying a spare battery is still common for big alpine days, but efficient motor tuning and regenerative coasting help stretch range.
Aluminum is still the most common because it handles the added stress of motor mounts and battery weight at a reasonable cost. Carbon frames are lighter and can be engineered for precise flex, but they require careful reinforcement around the motor area, which drives up the price.
They run extensive real-world testing on rocky descents, muddy roots, and long fire road climbs. Data loggers track motor temperature, battery sag, and suspension kinematics. But the final judgment often comes from pro riders who push prototypes until a weak point shows up.
Yes, things like crank arm length and bottom bracket height matter more than riders expect. A slightly lower bottom bracket improves cornering stability, while shorter cranks reduce pedal strikes in rocky sections. Sealed bearings on the motor and a well-routed cable harness also prevent annoying failures in wet conditions.
Conclusion
A genuinely trail-ready electric enduro isn't defined by a big battery or a flashy torque figure. The manufacturer we spoke with stresses that battery placement rewrites how the bike handles: keeping the weight low and centralized lets you lean into off-camber rock gardens without the front washing out, while a high or rear-biased pack turns every rutted climb into a wrestling match. Suspension setup matters just as much—running too much sag on a heavy e-bike makes it squat under power and deflect off roots, so they start riders with firmer spring rates and slower rebound than a typical analog enduro. And don't be fooled by peak torque specs. What actually gets you up a loose, ledgy climb is how early the motor delivers usable grunt, how smoothly the traction control feathers power, and whether the gearing lets you keep momentum at walking speed.
Durability is where most e-enduros show their true colors. Under hard riding, the chain, rear hub, and brake pads wear out faster than anything else—extra mass and torque punish drivetrains, and long descents cook brakes if the pads aren't metallic and the rotors aren't oversized. From showroom to singletrack, the setup steps the manufacturer never skips include checking motor mount bolts, setting tire pressure slightly lower than a regular enduro for traction, dialing in the suspension with gear on, and running a short test loop to fine-tune power delivery before hitting anything technical. Only then does a bike earn the trail-ready label.
Contact Us
Contact Person: Jack
Email: [email protected]
Tel/WhatsApp: +86 15657688888
Website: https://www.arctic-leopard.com