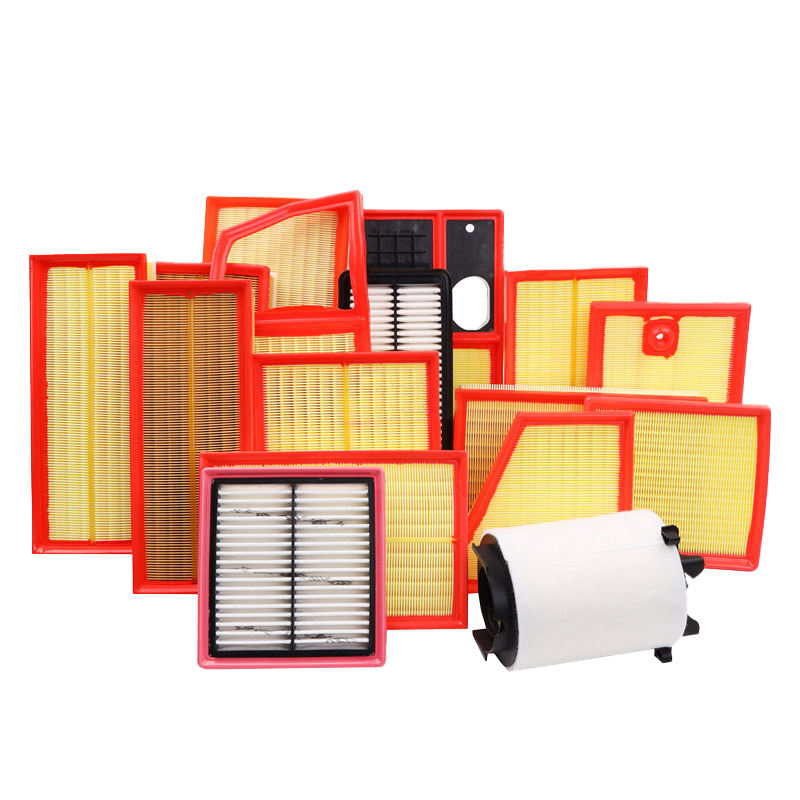
Mastering Air Filter Replacement: Essential Instructions for Great Wall Haval H9 Owners
2024-04-07
Introduction:
Maintaining the air filter in your Great Wall Haval H9 is crucial for ensuring optimal engine performance and longevity. While replacing the air filter may seem like a simple task, it's essential to follow specific installation instructions and precautions to ensure a successful and effective replacement. In this blog, we'll provide Haval H9 owners with essential guidelines for replacing the air filter, along with important precautions to consider.
1. Consult the Owner's Manual:
Before attempting to replace the air filter in your Great Wall Haval H9, it's essential to consult the owner's manual for specific instructions and guidelines provided by the manufacturer. The manual will outline the location of the air filter housing, the recommended replacement interval, and any special precautions or requirements for the replacement process.
2. Locate the Air Filter Housing:
The air filter housing in the Great Wall Haval H9 is typically located under the hood, near the engine. It may be enclosed within a plastic or metal housing secured with clips or screws. Carefully open the housing to access the old air filter.
3. Remove the Old Air Filter:
Once the air filter housing is open, carefully remove the old air filter from its compartment. Take note of the orientation of the filter to ensure proper installation of the new filter.
4. Inspect the Housing and Seals:
While the air filter is removed, take the opportunity to inspect the air filter housing and seals for any signs of damage or wear. Ensure that the housing is clean and free of debris to prevent contamination of the new air filter.
5. Install the New Air Filter:
Carefully place the new air filter into the housing, ensuring that it is properly seated and aligned according to the manufacturer's instructions. Pay attention to any directional arrows or markings on the filter indicating the correct airflow direction.
6. Secure the Housing:
Once the new air filter is installed, securely close the air filter housing and ensure that it is properly sealed to prevent air leaks. Fasten any clips or screws to secure the housing in place.
7. Perform a Test Drive:
After replacing the air filter, it's advisable to perform a test drive to ensure that the engine is operating smoothly and that there are no unusual noises or vibrations. Monitor the vehicle's performance and engine response to confirm that the replacement was successful.
Precautions to Consider:
1. Avoid Contamination: Handle the new air filter with care to avoid contaminating it with dirt, oil, or debris from your hands.
2. Protect Against Debris: Be mindful of any loose debris or objects near the air filter housing to prevent them from falling into the engine compartment during replacement.
3. Ensure Proper Sealing: Verify that the air filter housing is securely sealed after installation to prevent air leaks, which can compromise engine performance.
4. Use Genuine Parts: Whenever possible, use genuine or high-quality aftermarket air filters designed specifically for the Great Wall Haval H9 to ensure compatibility and optimal performance.
Conclusion:
Replacing the air filter in your Great Wall Haval H9 is a straightforward yet essential maintenance task that can significantly impact engine performance and longevity. By following the provided instructions and taking necessary precautions, Haval H9 owners can ensure a successful air filter replacement and enjoy continued reliability and efficiency from their vehicle's engine.


